TP-Link HB410 WiFi 7 modem guide
What’s in the box
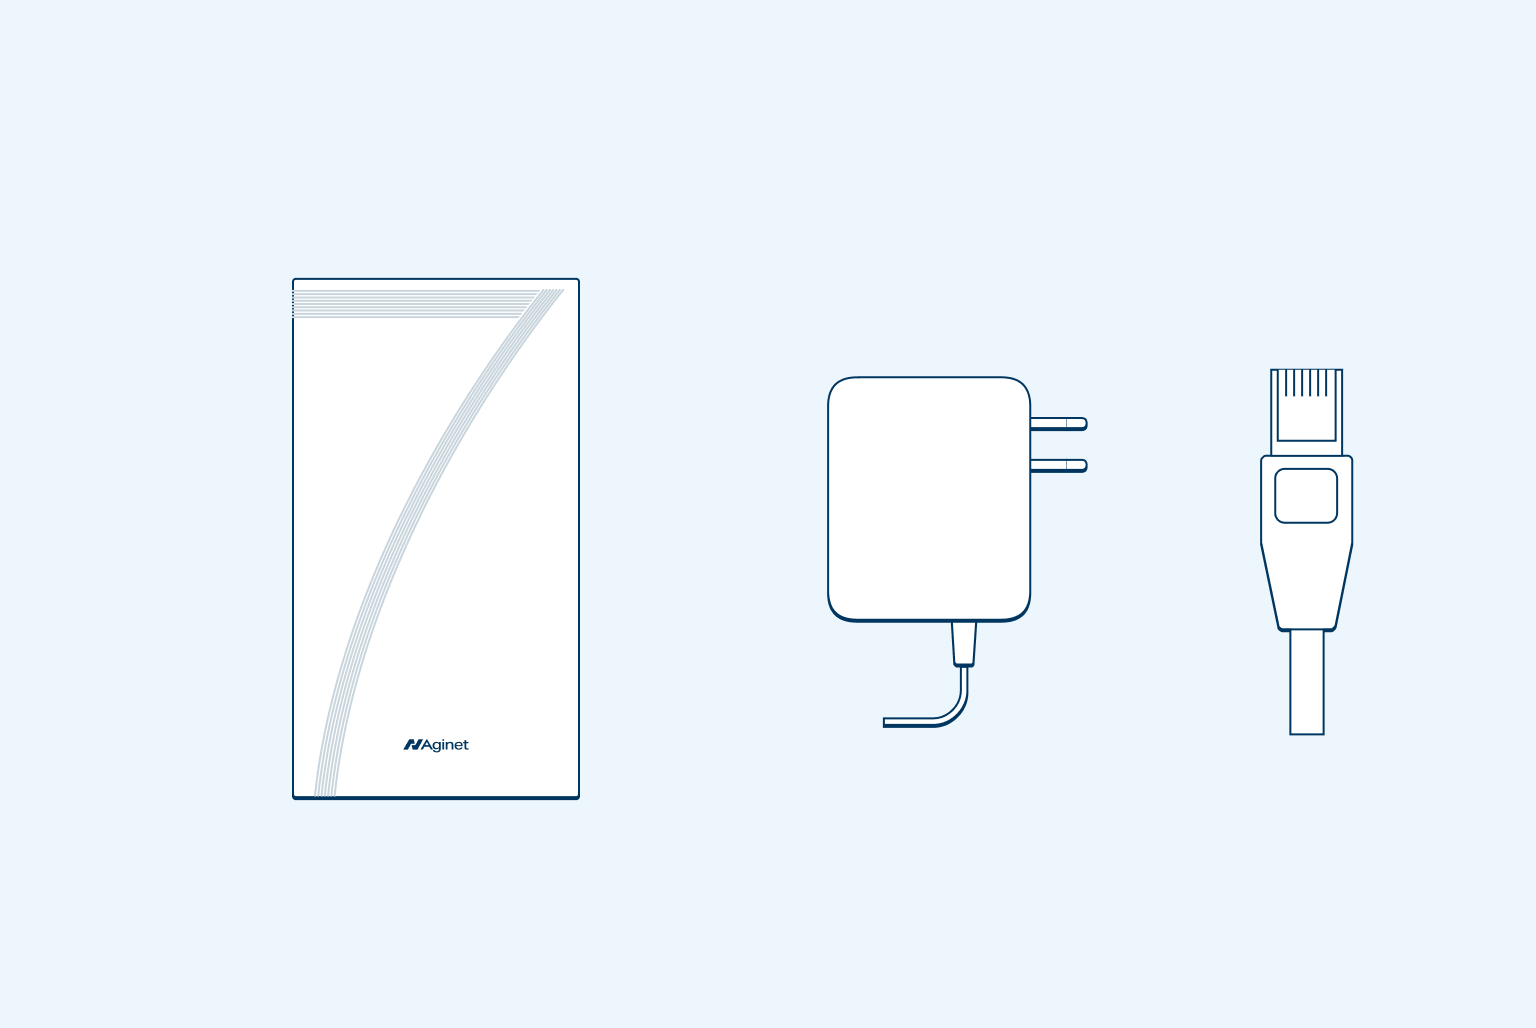
- 1 x TP-Link HB410 router
- 1 x Ethernet cable
- 1 x Power adapter
- 1 x Quick start guide

Step 1
Set up
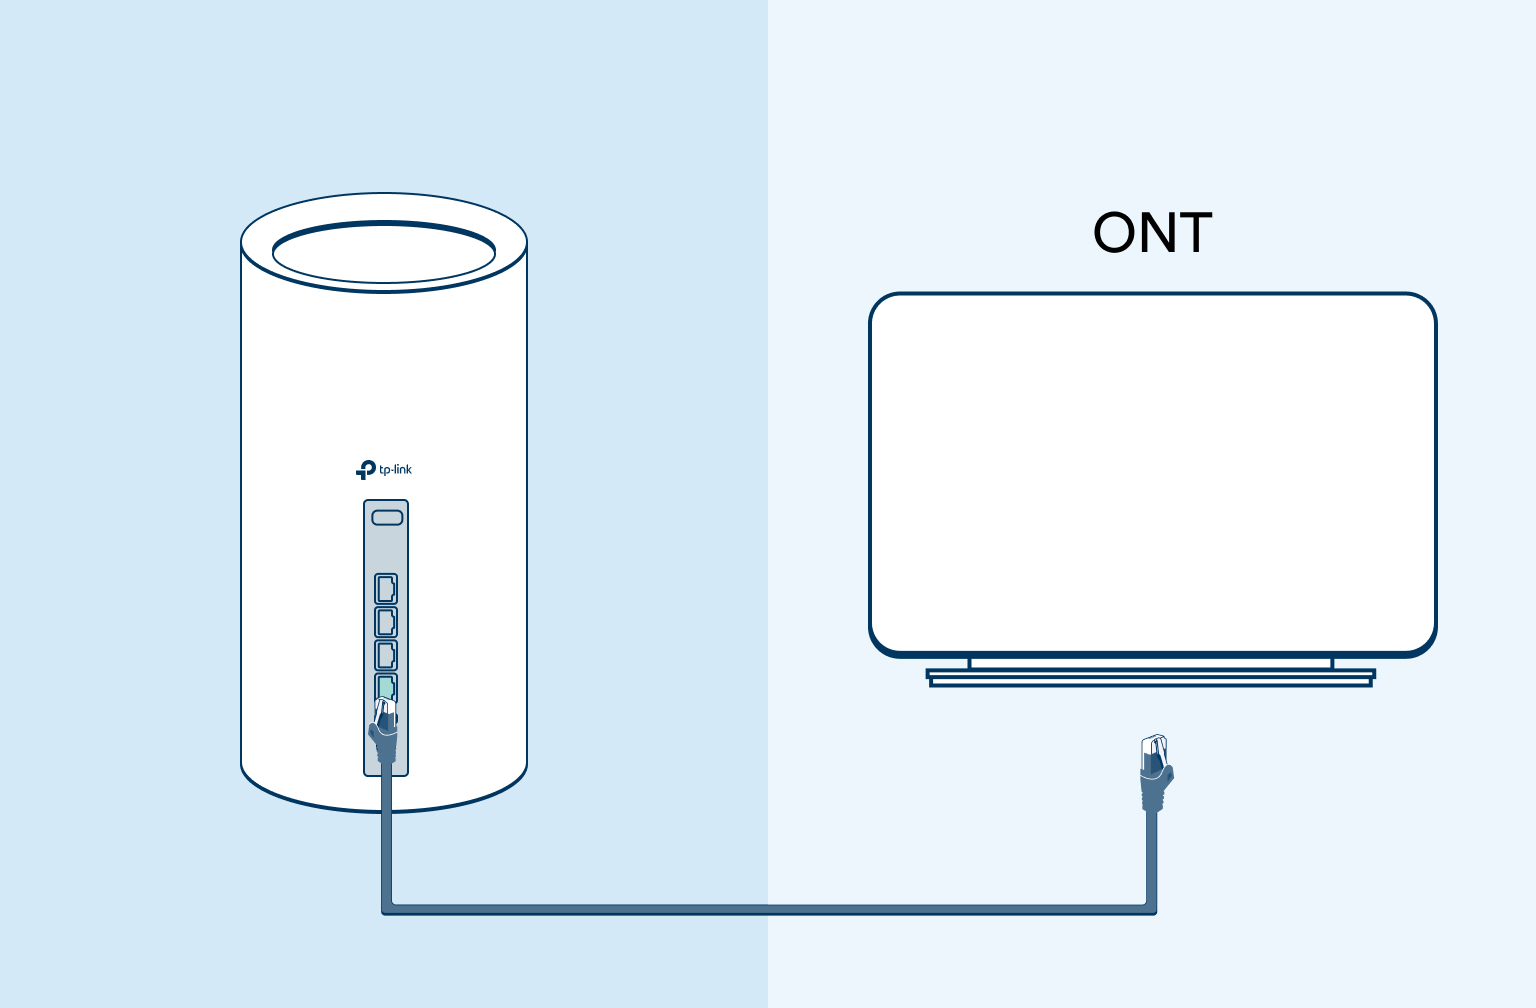
First locate your Optical Network Terminal or ONT (that’s the white fibre box on your wall).
Plug one end of the ethernet cable into the WAN Internet port on your modem.
Then plug the other end to the port labelled LAN1 or GE1 on your ONT box.

Step 2
Plug in and power up
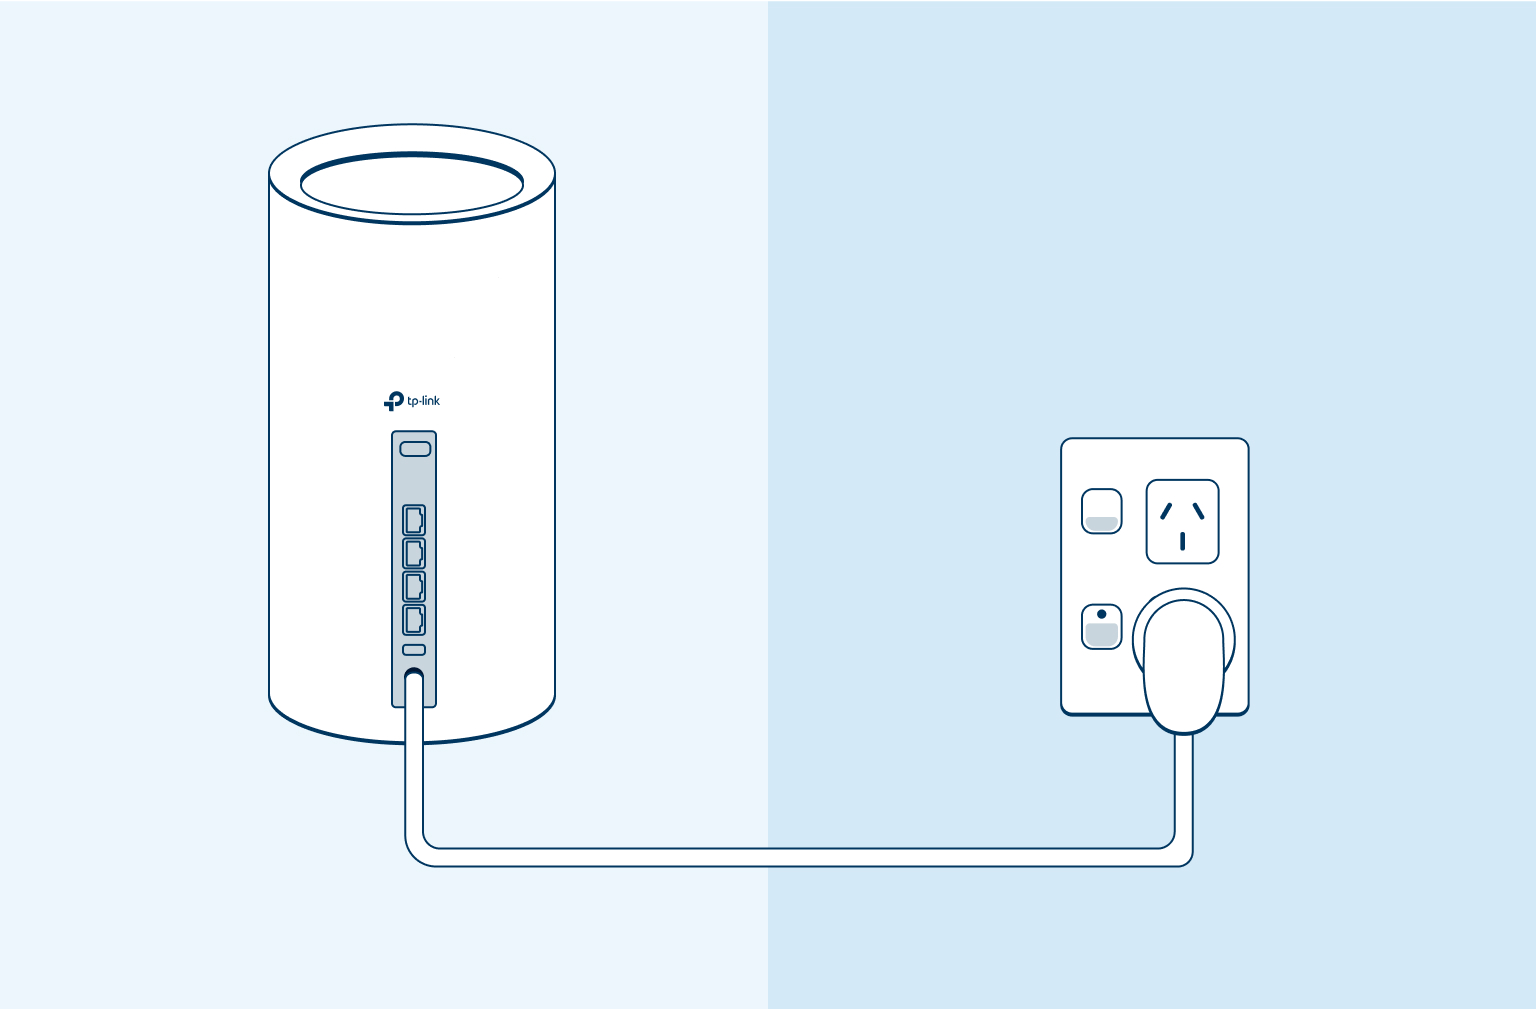
Plug your modem into power using the white power adapter.

Step 3
Wait for router to connect
Wait 2 minutes for your modem to connect to the internet. The front LED will turn solid green once connected to the internet.
Note: If the front LED light is blue after 3 minutes, then there is an issue with the internet connection. You might want to check the cable between your ONT box and the WAN port on your modem.

Step 4
Connect to WiFi
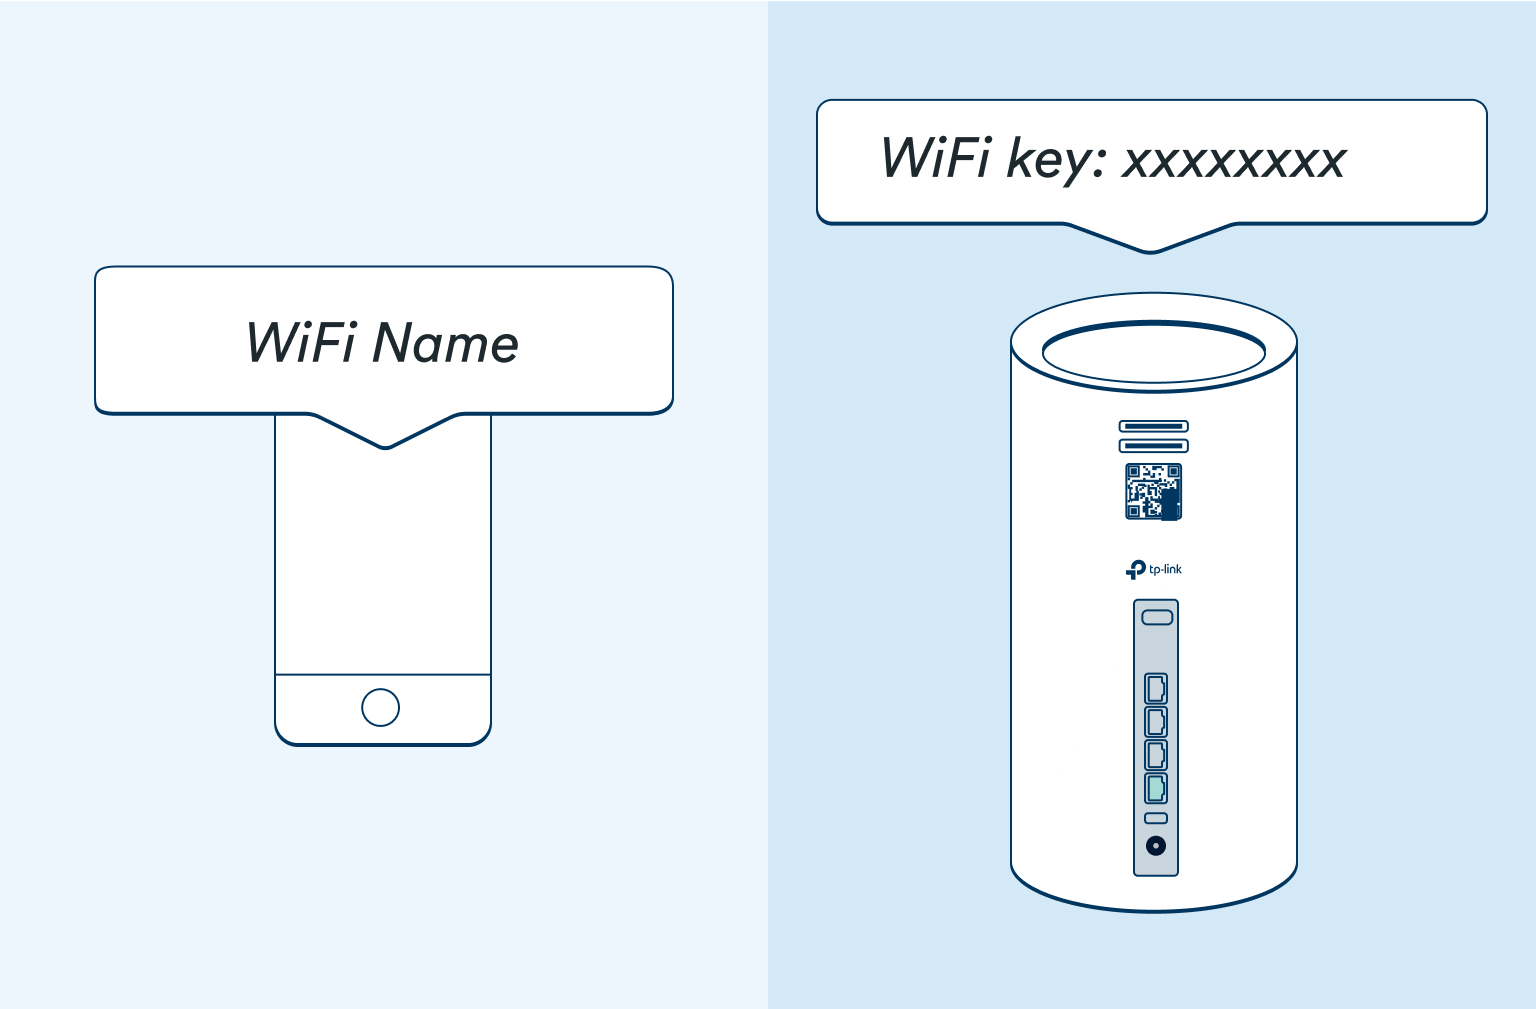
You’ll find the Wi-Fi network name and password along with a Wi-Fi QR code on the back of your modem. You can use the QR code to connect to Wi-Fi or go to the Wi-Fi settings on your mobile device or laptop, select network name and enter the password manually.
Note: After plugging in your modem, it may take a few minutes for your modem to connect to the internet, the LED light to turn solid green and for your network to appear.

Step 5
Manage your Broadband router through the Aginet app
Install the Aginet App on your mobile phone. Scan the QR code below or search Aginet on the Apple App Store or Google Play.
Aginet App allows you to:
- Add Wi-Fi mesh extender(s)
- Add Parental Controls to connected device(s)
- Change your Wi-Fi name and password
- View data usage
- Run a speed test on your internet connection
